Where do I start?
In many cases, including all the kinds of photos talked about here, today’s mobile phones are a perfectly adequate tool for website photography. And if you combine using a mobile phone with photo-editing software (such as Photoshop and Snapseed), you can get professional-looking results.
If you have access to and/or experience with a DSLR (digital single-lens reflex) camera—that is, a real, non-phone camera—you will have more flexibility in the kind of image you end up with. DSLRs often have zoom lenses that can provide both wide angle and more zoomed-in images and everything in between. They also often have the ability to focus on small objects (macro), and they offer the ability to control depth of field (what’s in focus and what’s not). However, a DSLR is totally not necessary for doing website photography. Use what you’re comfortable with and what you have access to.
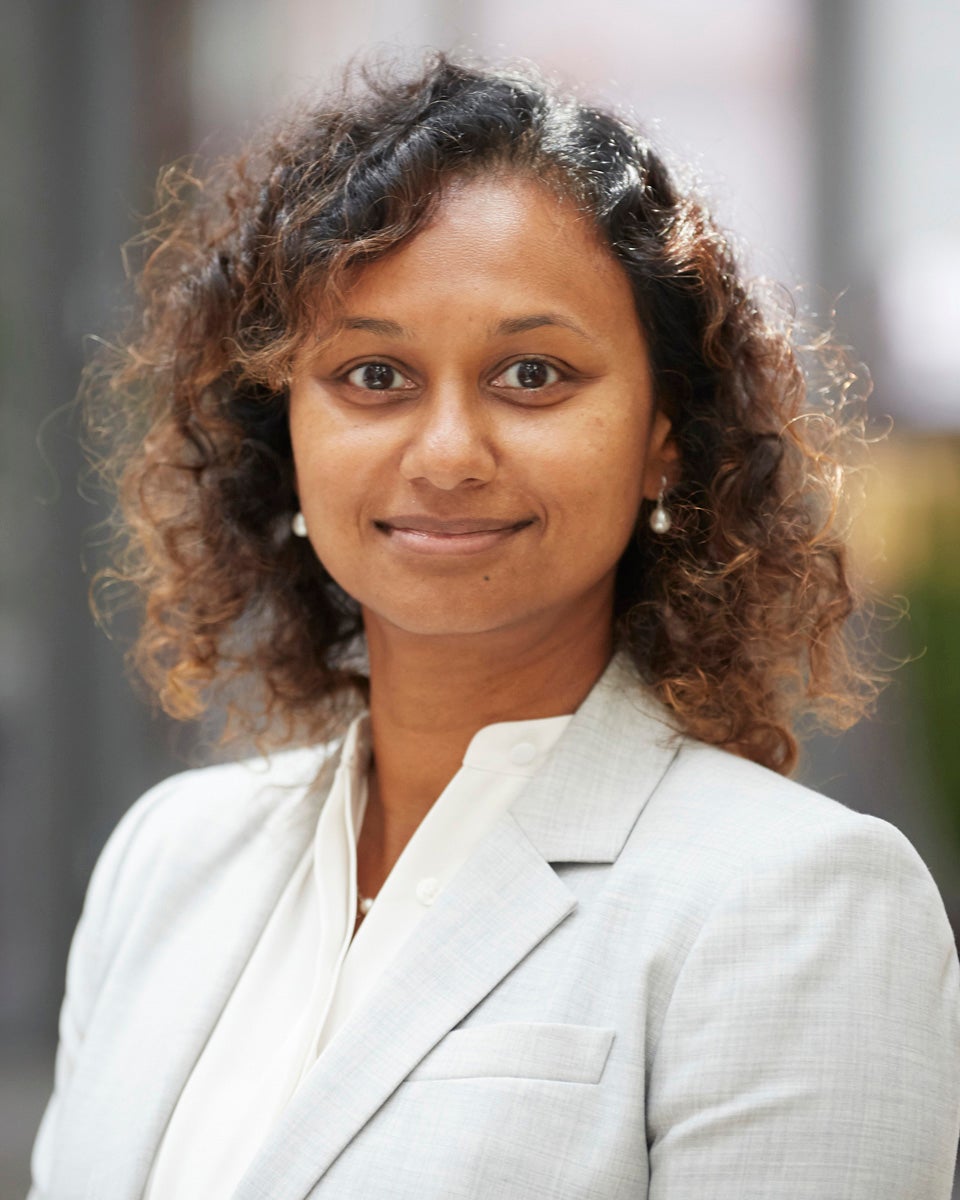
Getting a good headshot
A headshot is one of the most common photographic needs. Start by following these guidelines.
Choose your lens
If using a mobile phone, choose the longest lens. Most phones today have more than one lens: a wider-angle lens that is often the default lens, and a longer lens (sometimes more than one) for shooting in more of a “portrait” style. This portrait lens will have less distortion, and it will limit the amount of background seen in the final image. It is usually the best choice for headshots. If using a DSLR camera, use a focal length lens equal to or longer than 50 mm.
Find a good location
Figure out what sort of feel you want for the picture. Headshots in general convey their environment very subtly, even if the background is blurred. Choose a lab, for instance, if you’d like to convey research, or a location outside if you want your feel to be more neutral. Wherever you shoot, try not to say too much in the headshot. One common mistake, for instance, is to include a building or a sign in the background of a headshot, with the idea that it might be able to convey affiliation with an institution. But headshots are not portraits; they are tightly cropped and should be supported by other materials on the website where they will appear. Avoid trying to convey something too specific in a headshot.
Choose a location that has soft and even light. Natural daylight is easy to handle and will deliver good color balance without much adjustment, but make sure to avoid direct sunlight, as the contrast between the darks and lights can be too harsh. Shooting indoors, in a lab, for example, will also be just fine. Look for an area where light is even and where the background isn’t distracting. On the Harvard Chan School campus, one of the best locations for headshots is the lobby of the FXB Building.
Leave space behind your subject
Distance behind your subject will add depth and character to the image. Avoid putting your subject up against a wall. People often do that thinking that anything else will be too distracting. But this kind of photo has an unpleasant institutional feel. Instead, plan on blurring the background (see below) and leave plenty of space behind the subject. If you don’t feel comfortable finding a way to blur the background, just try to be sure nothing in the image is competing with the subject’s face.
Blurring the background
Many modern phones have a “portrait” mode built into the software. Shooting in this mode will allow you to blur the background, and the amount of blur is adjustable after shooting. This is a smartphone equivalent of shooting with a large aperture on a DSLR, which is what you should do if using a camera like that. On a DSLR, try using the maximum aperture available (the smallest number). Almost all headshots make use of this effect.
Composition
Always put the subject as high in the image as possible without cutting off the top of the person’s head. Avoid having the subject low in the frame with lots of space above. Leave just a bit of space on top. While the subject should be high in the frame, the camera itself should be at the subject’s eye level, more or less. Being too low generates an unpleasant-looking angle. Finally, it’s always good to take different versions of the headshot: straight on (shoulders square to the camera), left shoulder a bit forward, right shoulder a bit forward, and as many other variations as you can think of. That way you will have plenty of options for getting a great photo.
Most headshots are shot with very little space around them and are cropped in a vertical format, usually about a 2:3 or 4:5 ratio. Depending on the design and constraints of the particular website, sometimes headshots are square. It’s a good idea to shoot the picture leaving a bit more room around the subject than you intend to use. You can always crop the image later.
Examples


Showing collaboration
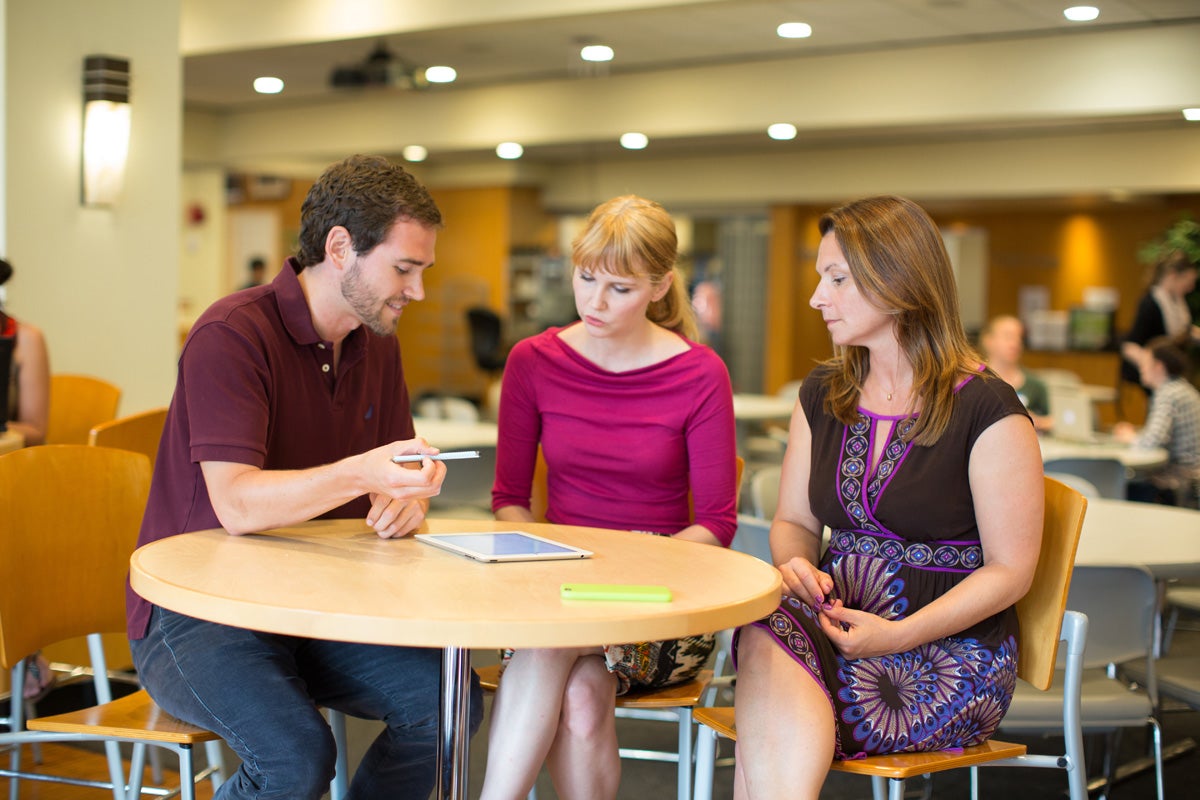
One of the most common website image requests after headshots is showing people working together and collaborating. Below are some guidelines for creating successful photos that highlight collaboration.
Arrange your subjects
Although natural and unstaged moments can make for wonderful photos, they can also be elusive and might require more commitment to image making than you have time for. With that in mind, you may need to stage your collaboration photos. Begin with a group that is as small as possible, while still conveying the right message. Groups larger than three become very difficult to choreograph and often look far too stagey. Start by having your subjects sit across from the camera, more or less facing it. Put something between them for them to work on (papers, laptops, experiments, etc.). Then move around them until you find a good angle. Try not to be concerned about seeing each person’s face completely, but rather concentrate on capturing the face of the person most engaged at that moment.
Eliminate distraction
When trying to show collaboration, observe the surrounding environment and eliminate unnecessary elements. This may involve repositioning the shot or getting closer to the subjects.
Strive for authenticity
The main objective is to capture a moment that seems genuine. If you’re staging the photo, try having people actually do their work or have real conversation about the work in front of them, and attempt to capture moments of connection and communication. The goal is to show a positive collaboration, not necessarily people having a good laugh. Also, when shooting small groups, be aware of the “pointing to a piece of paper” trope and try to avoid it. The photos will feel more real if people aren’t trying to pose. Shoot a lot of photos and worry about selecting the best ones later.
Examples


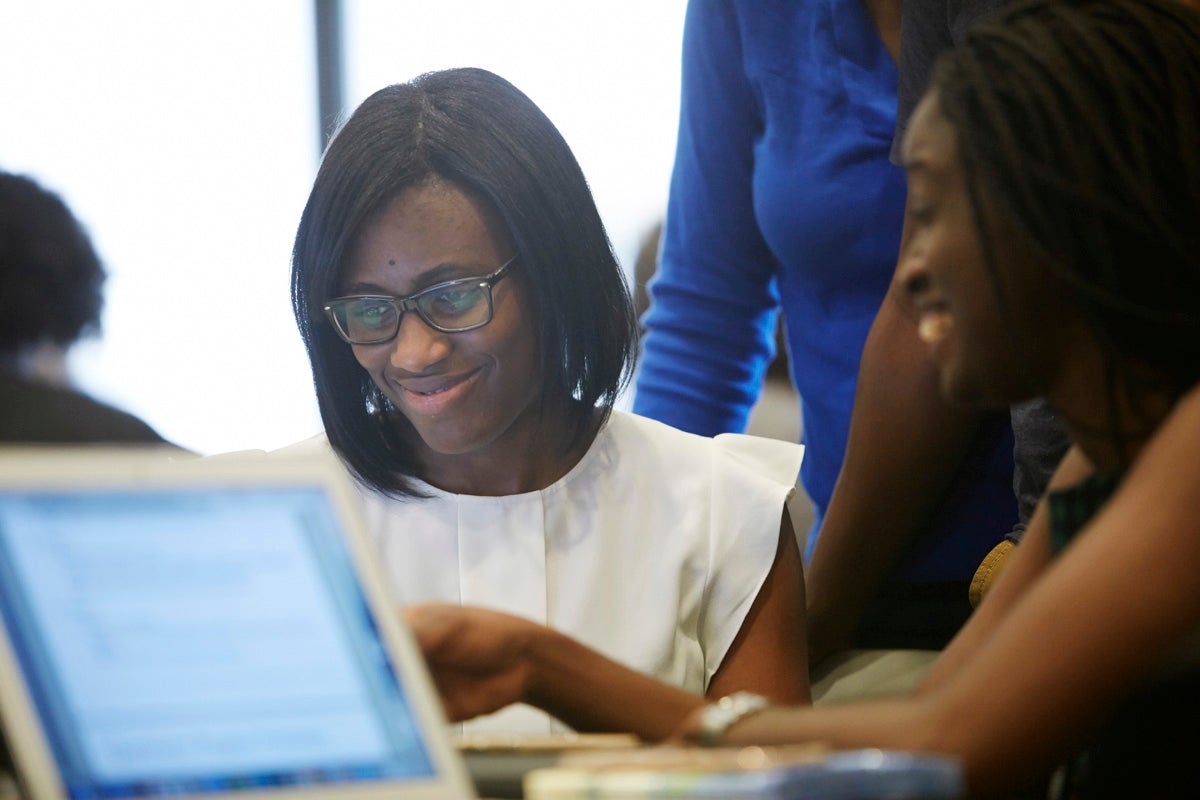
Photographing groups
Taking photos of groups is more or less a common-sense task. Think first about whether the final image needs to fit into any particular aspect ratio. Many School departments want a group image in the banner section of their website, which can have a very long and horizontal aspect ratio (16:5, for instance). Before arranging your group, think about how wide the final image has to be and how the crop will look. You may need to back up farther than you think to avoid cropping people uncomfortably, or you may find it helpful to have fewer rows to make the image wider.
Put taller people in the back and, if necessary, have people in the back stand on something to make their faces visible. People in front may kneel or sit. Arrange people in rows if needed, and have people turn inward toward the center if you need to save space. Also, large groups can be unwieldy. You may need to be assertive, and loud, to get people’s attention and to direct them. Finally, you often won’t be able to see everyone’s faces while shooting. Remind the group that if they can’t see the camera, the camera can’t see them. Shoot a lot of photos! With large groups, it’s hard to find one where everyone looks the way they want to look—and where everyone’s eyes are open. This is one type of image where more is almost always better.
Example

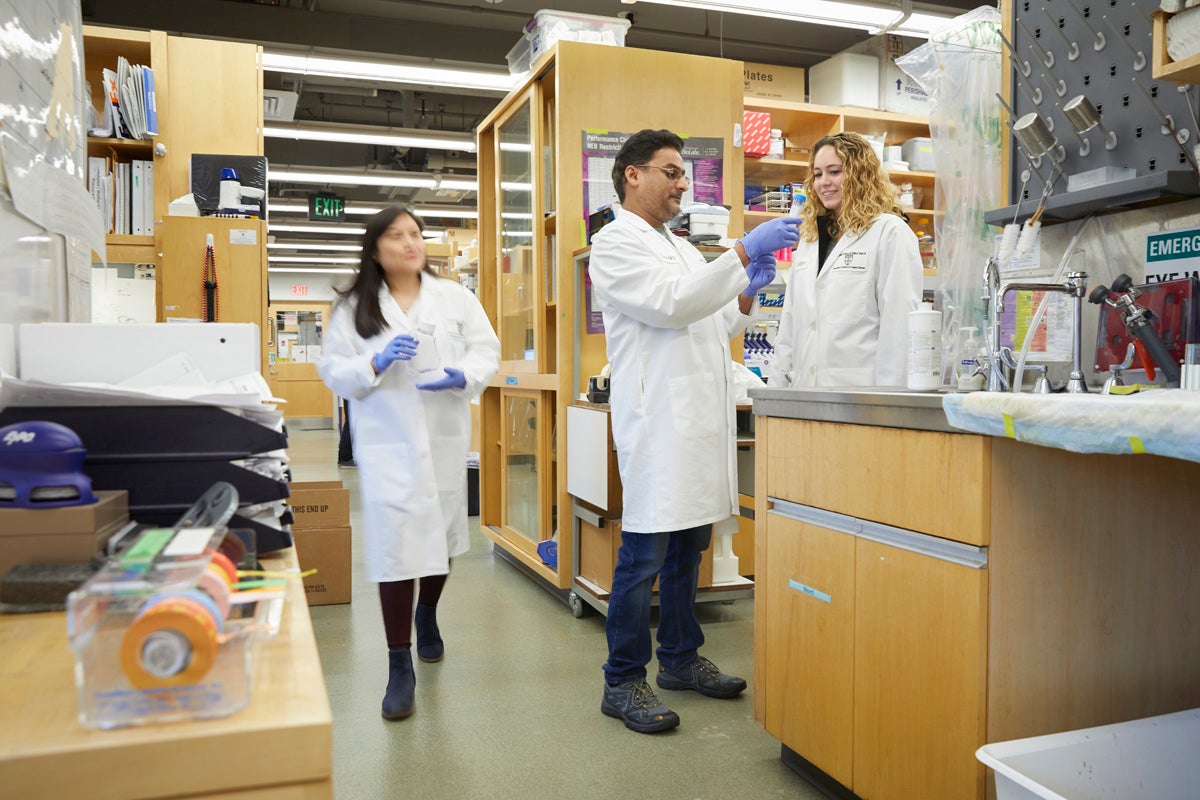
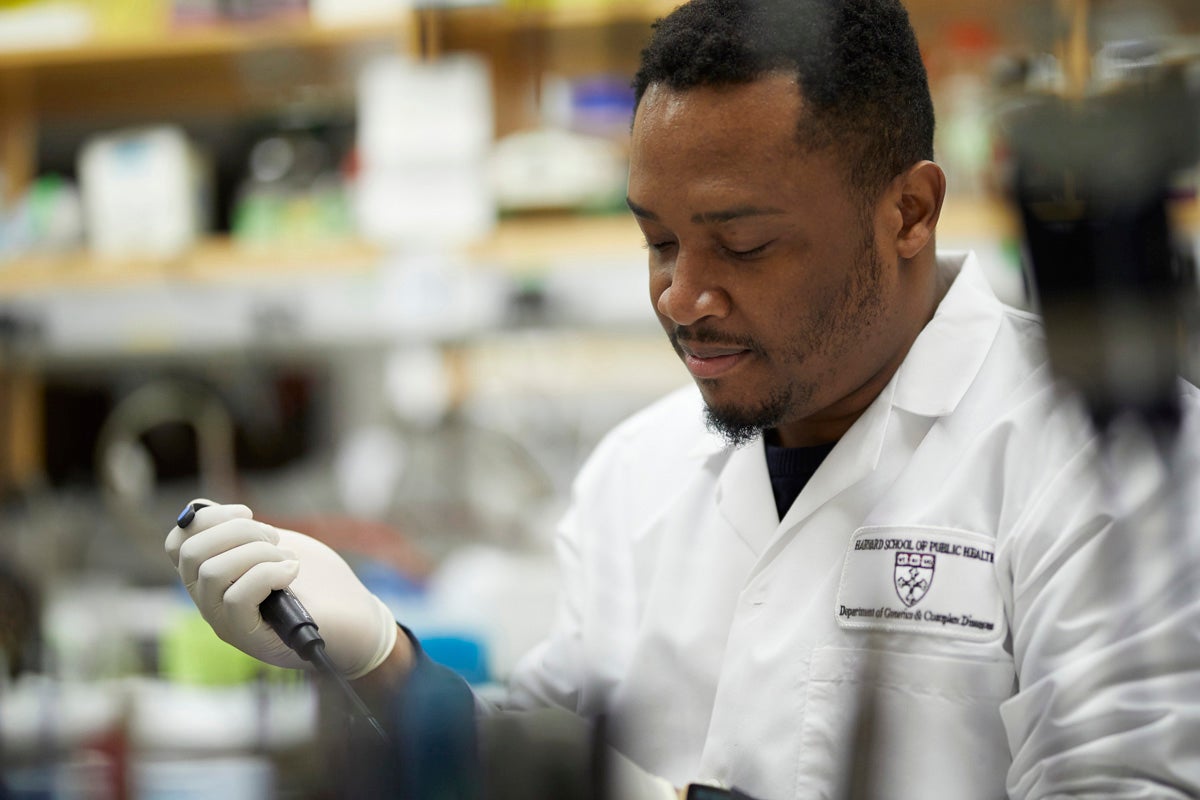
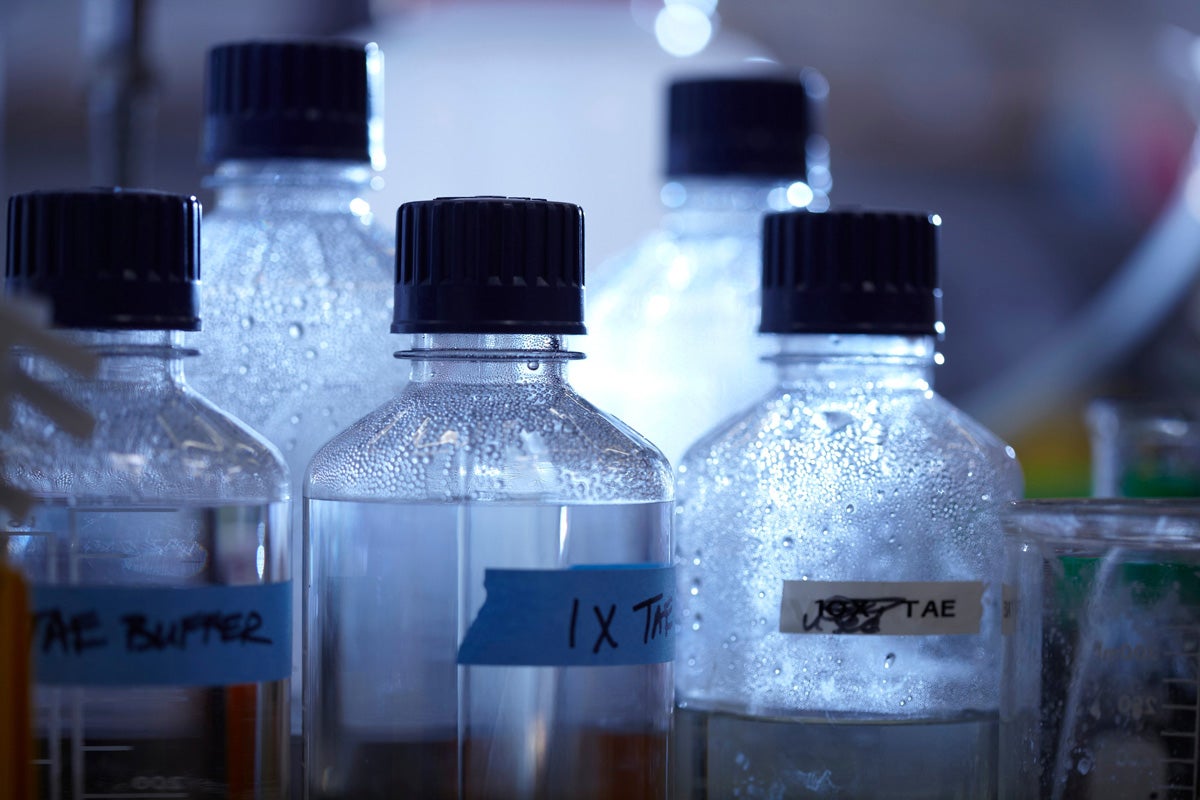
Photographing lab environments
When documenting a lab environment, it can be useful to think of the photos in two different categories: wide and detail. Wide shots will show the size of the lab and often provide another opportunity to show people collaborating. Detail shots can highlight the specific science being performed and can showcase technology, if that happens to be a feature.
Getting the wide shot
Recruit some volunteers and find a perspective that shows the overall size of the lab. You can add interest by creating several groups in different part of the frame. And try having yet another person walk through the image while you take multiple photos. The wide shot is like an introductory paragraph and begins to tell the story of a lab. It’s usually better to have people someplace in the image, as opposed to showing an empty lab.
Getting the detail shot
Use the longest lens available. If a person is in the shot, try shooting from one side of the bench through to the other side. Or get even closer, and just show the subject’s hands working on something or writing something. Detail photos are often very useful in conveying general research without specifying anyone in particular.
Examples
Editing and color
Today’s smartphones are pretty good at analyzing the light source and producing images with good color automatically. However, especially when shooting indoors and under fluorescent lighting, there can often be an unpleasant yellow or green cast. An easy way to detect this problem is to look at something that should be white and to ask yourself if it actually looks white in the photo. Editing color is almost always part of the workflow when producing images for reproduction. If using a phone, put the image into edit mode and use the color balance sliders to see the effect on portions of the image that should be white/neutral. Take care to view the Before and After to make sure you haven’t made too big an adjustment, which can create other problems in the image.
When editing, ask yourself these questions, in this order:
- Is the color correct/accurate? Use the color balance (sometimes called “warmth” and “tint”) sliders to adjust.
- Is the brightness correct? Use the exposure or brightness sliders to adjust.
- Is the contrast correct? (Are the blacks black and the whites white?) You can try using the contrast slider, but often the shadow (similar to “black point,” but more broad) and highlight sliders provide the best adjustment.
Editing images with the software included on the phone will work well, but there are also many more robust color editors, including Photoshop. We also recommend Snapseed as an editor for mobile phone photographs. It has many very sophisticated tools and a well-designed interface.
If using a DSLR, always shoot in “RAW” mode, regardless of which color balance setting (AWB, daylight, fluorescent, etc.) you use. This allows for the broadest and most precise color and exposure adjustments after shooting.
Additional training resources
There are many free resources you can access in order to learn more about photography. We’ve listed some of our favorites below.
LinkedIn Learning
Harvard students, staff, and faculty have access to more than 6,000 courses on a variety of topics, including photography, through LinkedIn Learning. Log in at LinkedIn Learning to take courses for free. Course recommendations include:
Learning Natural Light Portrait Photography
Photography Foundations: Mobile Photography
Other free resources to try
A Comprehensive Beginner’s Guide to Aperture, Shutter Speed, and ISO
Ten iPhone camera settings that every photographer should use


